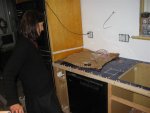
Day 73: OK, all youse geniuses! Help!

Bill, the kitchen is looking good! Larry's idea is the same as what I did on the kitchen remodel I'm doing. I had a 6 3/4" gap just to the right of the sink and it works good just adding a door and filling it up with cookie sheets and cutting boards.

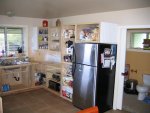
This WIP and still making the doors and drawer fronts. There is going to be Granite counters installed next Wednesday and in the mean time, the old counter top with the sink is just sitting on top of the new cabinets.

IMG_8347 (Small).jpg
 
Last edited:
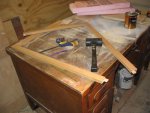
Well, until five minutes ago, my idea was to put a face frame on there. We had an extra wall cabinet, so I took the face frame from that, and started pulling apart.

cab 007 (Medium).jpg

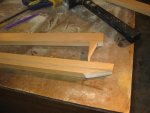
Loose tenon joinery, glue only at the very tip (giving an end grain glue joint), one air nail pinning it together. Pretty easy to get apart. Of course, I got overconfident:

cab 008 (Medium).jpg

Bad words were said. superglue was found. Problem solved.

Except. When I went to check the sizing, I had a conceptual error:

cab 009 (Medium).jpg

Well, that will never do. Just then, Doorlink came home. she voted for Jerry's solution. It was a one vote landslide! ;)

Thanks,

Bill
 
Hey, folks,

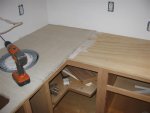
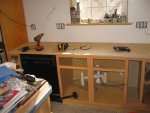
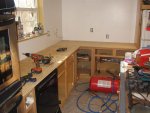
Got in 12 hours of work on the project yesterday: by midnight it was almost ready for tile! What's shocking is the hundred little things that needed to happen before the relatively simple step of putting down the 3/4 ply. The face frames got clamped, countersunk (using the drillbit from the pockethole jig) and screwed together using square drive face frame screws. Came out nice.

Had to build up the cabinet sides to accept screws without splittling (and to give me a large target area... ;)

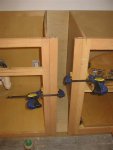
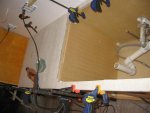
When I made the frigo cabinet, I saved a little green by using half inch MDF for the back. Big mistake! It got moved around a fair bit during all this, and of course I was too lazy to empty it before I moved it. Result? The sides pulled away from the back. Got some glue into the seams, and it took every clamp I had to get everything back in place:
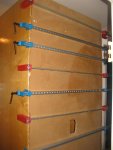
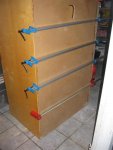
bed 001 (Medium).jpg

bed 002 (Medium).jpg


Those cheap harbor freighters weren't much good for pulling things together, but they could hold what the besseys had tightened. so it was clamp, reclamp, reposition, clamp....

But it worked! :thumb:

I counted my many blessings as I cut the plywood sheets with the festool. I got it because I was sick of wrestling 3/4" ply onto the table saw, and the way I was doing it was durned dangerous. One of the curses of a small shop! But I got the ply up on the rolling cabinet, got the chunks of 2" insulation under it, and went to town. Perfect. That thing is worth every penny in avoided doctor bills, and, based on the way I used to do it, is actually more accurate... :wave:

I had some stainless steel screws laying around from another project, so I used those to set down the ply.
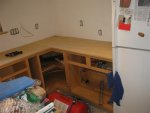
bed 003 (Medium).jpg

bed 004 (Medium).jpg

bed 005 (Medium).jpg

Next step: cut the sink hole, cement board, thinset and tile! ;)

Thanks,

Bill
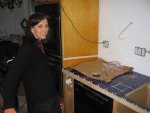
 
:clap::clap::clap:

It's a big day when you get a functional sink back in the kitchen. But I can't tell from the photos... did you put the sink in before you grouted between the tiles?

And SWMBO seems to be smiling. :thumb:

I bow to your tenacity, Bill.

Best,
...art
 
Looks like you're making good progress, Bill. And the coutertop looks real nice, too. :thumb:

Seeing that smile on Doorlink's face, I'm guessing she's letting you sleep indoors again now? :p
 
Hey, folks,

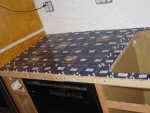
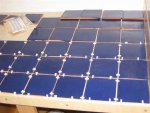
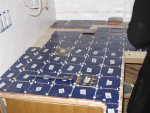
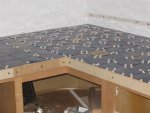
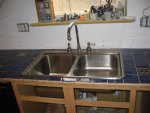
I guess the pictures are fairly self explanatory. Just for the record: in previous tile jobs, I've always just screwed down the backer board. Now they're recommending it be embedded in a layer of thin set instead. So, of course, I did both... ;)

On setting down the board: it should be easy... just cut it, slather thinset on the plywood, and set it down. In truth, each piece has to be fabricated to fit perfectly. I was able to score and snap a couple edges, but even those needed to be cleaned up. Naturally, nothing is square. I ended up cutting the sink hole with a jig saw... each blade got me 12 to 15 more inches...

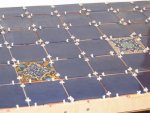
As for the tiles, well, they're handmade, and like snowflakes: each is unique. If you look close, you'll see that each one is numbered, and there's a grid key taped to each wall. I had the wet saw set up in the shop, with provisions to keep the water from flying everywhere, which mostly worked.

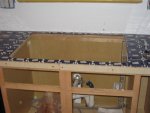
The sink is NOT installed... it's just set there to prove that it fits... Might get the grout in tonight, if I can figure out the trim. More on that in the next post...

Thanks,

Bill
 
Hi Bill.

Looks great! Congratulations for such a huge amount of work well done.:thumb::thumb:

Excuseme for asking but is there any special reason for using the plastic cross shaped separators in that way? I mean putting them on their sides.

I always use them flat putting one one each line crossing, and I never had alignment problems, besides I need fewer of them:dunno::dunno:
 
OK, so...

The project has exposed a huge weakness in my shop design. Here's the problem:

I've got a 9 foot board of beautiful curly maple to use as trim for the tile. It needs to be jointed, planed, cut to width, and routed. But it's winter, and I've got so much stuff in the shop it's hard to move it all around, especially since the tablesaw router table combo has to be turned 90 degrees, since the shop is only 12 feet wide. And since I'm in mid project, there's stuff everywhere. My rolling lumber/ plywood storage rack is so over burdened it's threatening to fall apart, which meant I had to take a bunch of stuff out, which meant it's harder to move the bandsaw out of the way, which meant...

Yikes! I'm thinking I'm going to need to redesign the shop... when this is over. I spent two hours last night, and just got the board jointed and planed. Even with that, I forgot I had moved the assembly table, the wet saw, and the SCMS w/cart outside the shop. Went out this morning to go to work, and there they were, covered in snow...

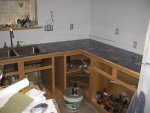
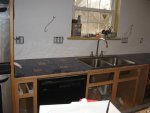
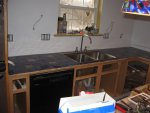
Next problem: picture the front edge of the tile bed, where the trim has to be attached. There's a piece of 3/4 ply (think, end grain). Flush with that, 1/4 inch of cement backer board. Then the tile, 1/4" high, recessed an eighth in (the grout lines are all 1/8). The trim covering this will be 3/4 maple, 1 3/4" high. My original plan was to glue (titebond III) it to the plywood, with a very few 23 gauge pin nails to hold it in place until the glue dries. But the more I think about it, the more that seems like a very, very bad idea. Any thoughts on this subject would be most welcome! ;)

Thanks,

Bill
54
 
Last edited:
Excuse me for asking but is there any special reason for using the plastic cross shaped separators in that way? I mean putting them on their sides.

I always use them flat putting one one each line crossing, and I never had alignment problems, besides I need fewer of them:dunno::dunno:

Toni,

Thanks for your kind words. I used to do it the way you're talking about. In fact, if the tiles were thick, I used to leave them in place, and grout over them! But when Doorlink first saw me laying tile, she said a few delicate words, and put her dainty little foot down. So now I do it in the fashion pictured.

We have an old saying on this continent: "There's the right way, and then there's the Doorlink way!" It's best to listen. ;)

As she said about some other method ( I think it had to do with molding) "Well, you can do it your way. But if you do, you'll hear about it. From me. Every day. For the rest of your life!" :doh:

An extra bag of those things costs two dollars and seventy nine cents. Let's just call that The Price of Peace! :rofl:

Thanks,

Bill
 
Next problem: picture the front edge of the tile bed, where the trim has to be attached. There's a piece of 3/4 ply (think, end grain). Flush with that, 1/4 inch of cement backer board. Then the tile, 1/4" high, recessed an eighth in (the grout lines are all 1/8). The trim covering this will be 3/4 maple, 1 3/4" high. My original plan was to glue (titebond III) it to the plywood, with a very few 23 gauge pin nails to hold it in place until the glue dries. But the more I think about it, the more that seems like a very, very bad idea. Any thoughts on this subject would be most welcome! ;)

Thanks,

Bill
54


pl premium......good stuff!
 
Top