- Messages
- 8,185
- Location
- The Gorge Area, Oregon
This is going to be kind of a long thread.. as there's a lot to do. I'm putting it in flatwork even though most of it's turning.. although there's going to be flatwork as well .. sooo...
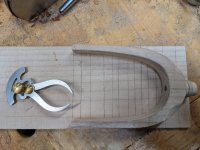
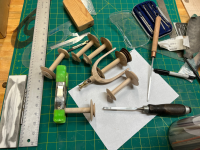
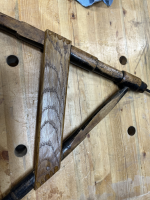
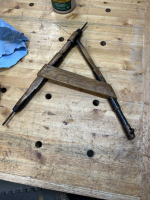
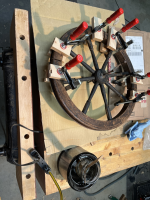
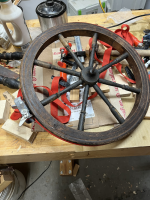
A friend picked up an old spinning wheel recently, I'm using it as a kick off point to rehab both it and one of the other wheels we've gotten. More pictures of the wheels later.
I've been kind of poking at them, measuring things, buying some parts, and deciding how to tackle some of the problems.
Today I started out with a small project, replacing a locking knob that had been lost to the mists of time. This was a slightly more difficult than usual replacement because the knob is threaded.. and I have no idea what the thread use was...
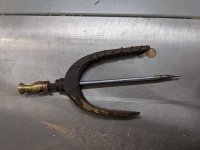
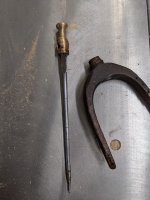
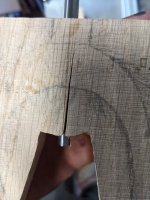
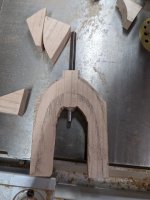
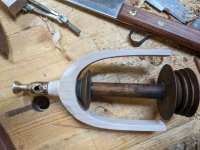
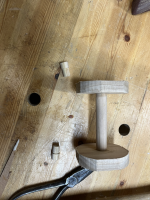
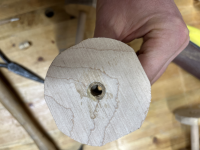
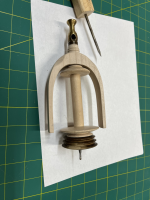
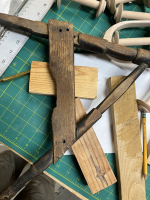
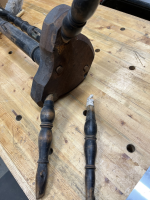
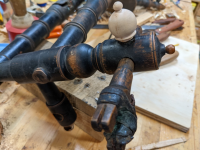
Missing piece goes here.. to lock this upright (which holds what's called the "flyer" in place.. more on that later.. I also need to replace some wooden bits on the flyer..)
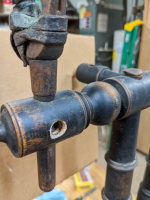
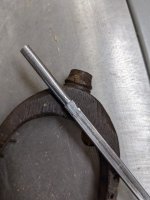
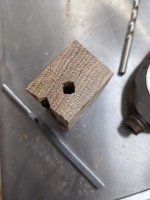
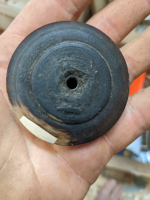
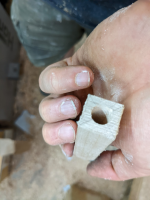
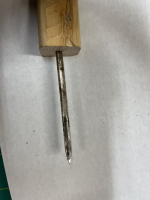
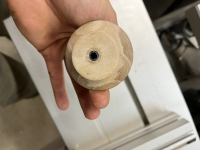
So the first step was to make a small form from some canning wax and reproduce a template of the piece. With some careful carving and gentle persuasion the existing hole acts as a die for the wax (and yes I broke two pieces before getting a "good" one).
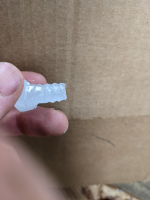
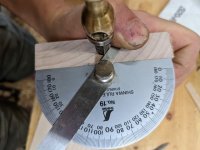
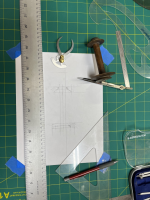
I had some ideas about making a pitch gauge with dykem (which is why it's blue..) but that didn't work.. so using a pair of fine dividers we can measure the thread center-center
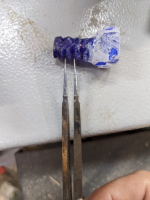
Use that to score out a piece of blue tape...
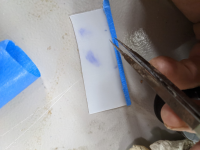
And once the tape is wrapped around a piece of rock maple turned to the OD of the template.. we have our thread pitch..
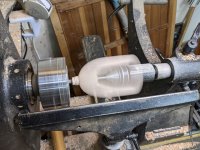
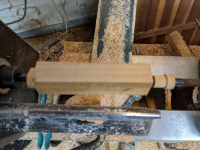
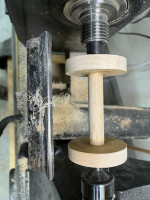
I'm cutting the first pass of the bottom of the thread form here with a small razor saw to both mark the center and cut out some of the thread depth while still on the lathe.
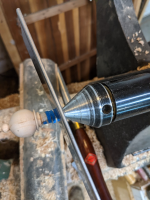
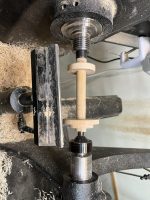
Also marked the "peak" of the threads with a pencil and tried not to remove the pencil mark while carving.. here I'm also cross checking pitch width at the peak with the dividers (I spot checked it all the way out on 4 sides.... it was pretty close - it looks slightly off because I've already started carving).
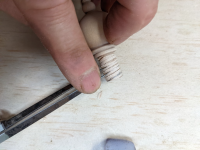
From there it's just carefully whittling the threads out.. I used a very small chip carving knife and a fine needle file to finish them.
They might look a smidge rough...
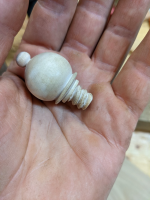
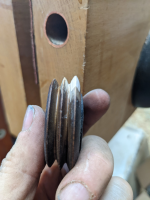
And they're *maybe* just a wee tad loose (I was aiming for a smidge loose because wood.. movement..), but danged if they didn't screw right in just about perfect on the first try.. I had to trim the end of the threaded bit a little so the knob was "almost" snug to the piece once it's locked in place (I had intentionally cut it maybe 1/8" long to start to give some adjustment room).
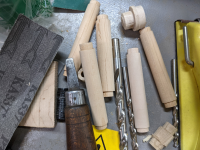
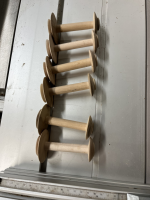
I did some other stock prep, but that's the only really interesting bit for today.
A friend picked up an old spinning wheel recently, I'm using it as a kick off point to rehab both it and one of the other wheels we've gotten. More pictures of the wheels later.
I've been kind of poking at them, measuring things, buying some parts, and deciding how to tackle some of the problems.
Today I started out with a small project, replacing a locking knob that had been lost to the mists of time. This was a slightly more difficult than usual replacement because the knob is threaded.. and I have no idea what the thread use was...
Missing piece goes here.. to lock this upright (which holds what's called the "flyer" in place.. more on that later.. I also need to replace some wooden bits on the flyer..)

So the first step was to make a small form from some canning wax and reproduce a template of the piece. With some careful carving and gentle persuasion the existing hole acts as a die for the wax (and yes I broke two pieces before getting a "good" one).

I had some ideas about making a pitch gauge with dykem (which is why it's blue..) but that didn't work.. so using a pair of fine dividers we can measure the thread center-center

Use that to score out a piece of blue tape...

And once the tape is wrapped around a piece of rock maple turned to the OD of the template.. we have our thread pitch..
I'm cutting the first pass of the bottom of the thread form here with a small razor saw to both mark the center and cut out some of the thread depth while still on the lathe.

Also marked the "peak" of the threads with a pencil and tried not to remove the pencil mark while carving.. here I'm also cross checking pitch width at the peak with the dividers (I spot checked it all the way out on 4 sides.... it was pretty close - it looks slightly off because I've already started carving).

From there it's just carefully whittling the threads out.. I used a very small chip carving knife and a fine needle file to finish them.
They might look a smidge rough...

And they're *maybe* just a wee tad loose (I was aiming for a smidge loose because wood.. movement..), but danged if they didn't screw right in just about perfect on the first try.. I had to trim the end of the threaded bit a little so the knob was "almost" snug to the piece once it's locked in place (I had intentionally cut it maybe 1/8" long to start to give some adjustment room).

I did some other stock prep, but that's the only really interesting bit for today.

 The wax mold was a clever idea, too.