Pair of Dressers

glenn bradley

Member
Messages
11,565
Location
SoCal
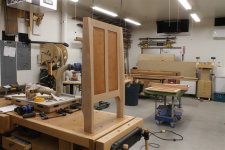
These are part of the bedroom "collection" that started with the Blanket Chest several months ago. I will take my time on these since I would like to finish them up about the time the remodel of the room where they will go gets done. Ah . . . the best laid plans :D. There will be a pair of them and this is the general thing I am shooting for.
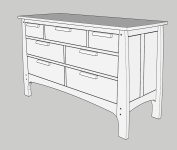
MBR Dresser (0).jpg
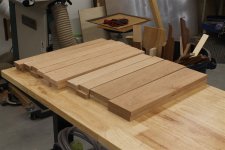
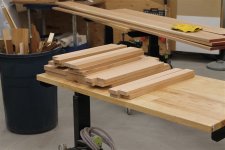
As always it starts with material selection. I had used up much of my 4/4 cherry on other projects over the last couple of years and was surprised when I didn't have enough stock I liked when I went to start this project!?! Off to the local yard for some stock for the drawer fronts and end panels.
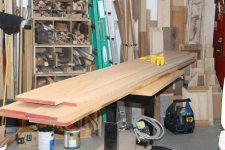
MBR Dresser (1).jpg
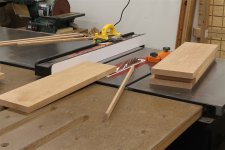
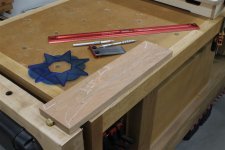
I made this leg template over a year ago. Common story . . . I never knew it would take this long to get started on the remodel. At any rate, I use it to layout leg blanks on some thicker stock.
MBR Dresser (2).jpg
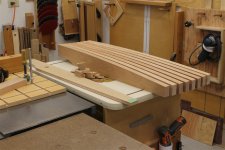
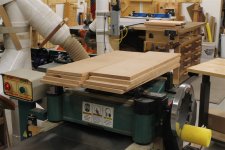
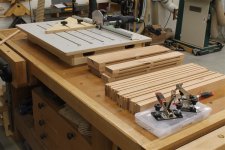
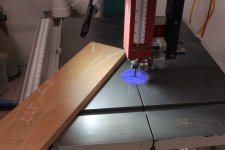
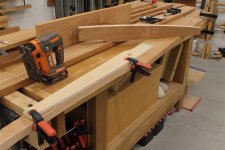
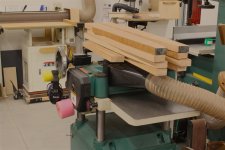
I cut the blanks to length with the jig saw and bandsaw the basic shapes out. I then joint one face and plane to thickness. The extra block of scrap is milled along with the parts to give me something at dimension in case I need to test anything later.
MBR Dresser (3).jpg
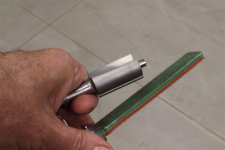
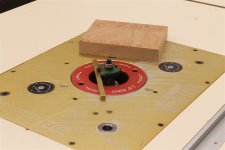
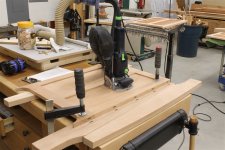
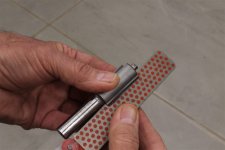
Since I will be doing a fair amount of 1-1/8" tall template routing I do a touch up on the bit I plan to use. Remove the bearings and give each face 2-3 swipes of fine and extra fine.
MBR Dresser (4).jpg

MBR Dresser (5).jpg
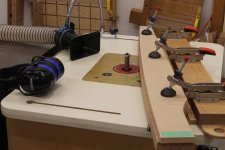
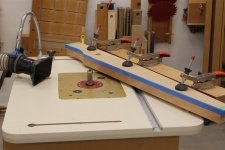
I use the same Template Jig I made back in 2011. It seems to cover most of my template routing needs and hasn't required a rebuild yet :) .
MBR Dresser (6).jpg
Here's a tip many of you may already use on burn prone woods. Run a piece of tape along the template edge and make your cut.
MBR Dresser (7).jpg
Pull the tape and make a second pass. This often gives you nice, clean, burn-free edges even in difficult materials.
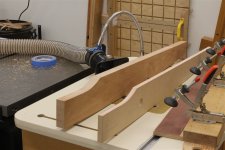
MBR Dresser (8).jpg
This is with both faces and the long edges done. Ready to crosscut to length.
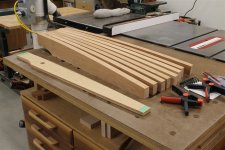
MBR Dresser (9).jpg
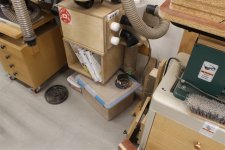
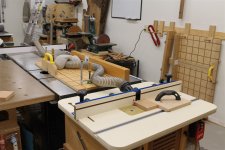
One thing about template routing is that it can generate a lot of spoil no matter how close you bandsaw to the line. My router table catches a lot of the spoil but in these types of operations a lot of spoil flies off the cutter well above the throat collection area. As you can see in the previous pics I add a vac collection point on top of the table. The little man in my head tells me I should check the vac collection tub. I loosen the little green wing doo-jobber on the 4" hose.
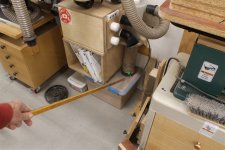
MBR Dresser (10).jpg
This lets me slide the tub out.
MBR Dresser (11).jpg
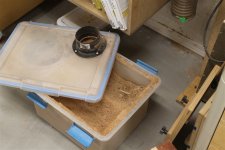
Yep, that needs to be emptied.
MBR Dresser (12).jpg
In contrast here is the filter box showing how much spoil gets past the Dust Deputy . . . almost none.
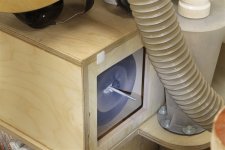
MBR Dresser (13).jpg
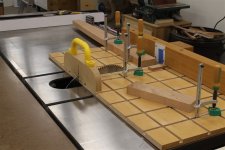
I use the same router template like a story stick to set the cross cut location at the top of the leg. I then just use a stop block to set the overall length.
MBR Dresser (14).jpg
And I end up here.
MBR Dresser (15).jpg
On to the other parts that make up the end panels.
 
Last edited:
Looking forward to watching this build. 👀

Every time I see pics of your shop, I think of the massive anxiety attack you'd have just walking into mine, let alone trying to get something built. I spent a large part of yesterday and last night in mine, and it drove me nuts. :bang:
 
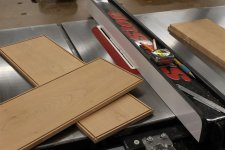
End panel frame parts . . . same old, same old. Break down blanks, joint, plane, rip, crosscut.
MBR Dresser (16).jpg
I dry fit the panel frames to lay out the joinery. It will all be tongue and groove along with floating tenons on these. As with most joinery it is all about the reference surface.
MBR Dresser (17).jpg
These parts are all the same thickness and there is no offset between any parts. This makes things pretty straight forward. I will use the show face as the reference surface. The back of these assemblies will be hidden for all time so I can mark on them pretty freely. The trick is to make your marks in a location that won't get milled or sanded off.

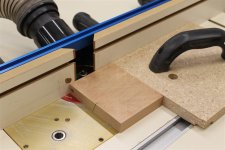
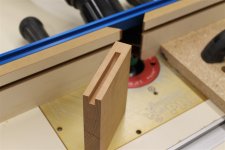
This is the same Woodcraft bit I wish I would have bought more of when they were clearing them out. The smaller diameter combined with a 3/8" cutting depth makes it great for cutting grooves close to joinery areas without removing too much tenon supporting material. A brass setup bar lets me quickly get a 1/4" set back from the reference surface that will ride the table top. The block of wood was milled at the same time as the actual parts. I use it here to make sure I am going to get what I want.
MBR Dresser (18).jpg
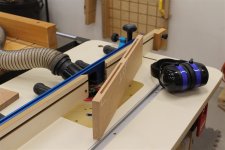
This just shows how once you do something for a while you start to figure out what is important and what is not. Laying the vac hose across non-sharp stuff long enough to cut some joinery is a-ok with me.
MBR Dresser (19).jpg
Just testing that making the full 1/4" x 3/8" cut in this material at this speed is good.
MBR Dresser (20).jpg
I'm happy with that.
MBR Dresser (21).jpg
The stop block at the right end of the fence is for safety. When levering into a spinning cutter I like to be sure that my blank isn't going to try to become a projectile. Things generally go well but there is always that one time . . .
MBR Dresser (22).jpg
OK. So now I just have to do this a whole bunch more.
MBR Dresser (23).jpg
Unfortunately I have to go in and do the final prep for St. Nick so these will have to wait.
 
Got a little time in today. I rip the floating panel blanks to final width.
MBR Dresser (24).jpg
I resaw them and plane them to final thickness.
MBR Dresser (25).jpg
I use a flat-top-grind blade and run a 3/16" deep x 1/8" wide groove all around the panels.
MBR Dresser (26).jpg
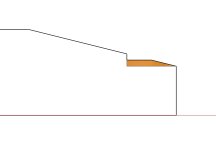
Most of this groove gets planed off when I raise the panels. There is a nice shoulder left to register the shoulder plane against. I failed to get a picture of the "in between" result of this maneuver :mad:. The profile ends up looking about like this . . .
MBR Dresser (00).jpg
. . . you then shoulder plane off the part colored orange. Hopefully that makes sense.
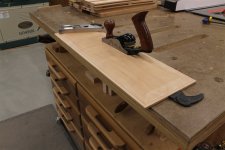
MBR Dresser (27).jpg
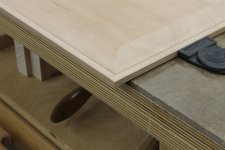
A couple of swipes with the shoulder plane and I end up with this profile.
MBR Dresser (28).jpg
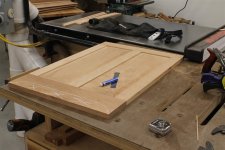
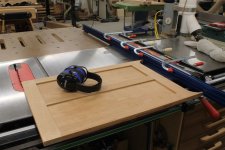
Still rough and just slapped together but you can get an idea of what the end panels will look like.
MBR Dresser (30).jpg
Three more to go.
 
Last edited:
Mortises, mortises, mortises . . .
MBR Dresser (31).jpg
The arch on the end panel rail is not a fair curve it is just a basic shape. A few simple layout tools make this pretty easy.
MBR Dresser (32).jpg
The first lower rail gets roughed out on the bandsaw.
MBR Dresser (33).jpg
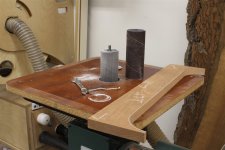
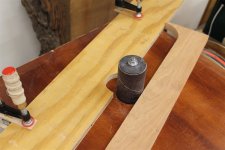
Then I use the spindle sander to clean up the saw marks. Remember to baby powder your sleeves. It makes them so much easier to change.
MBR Dresser (34).jpg
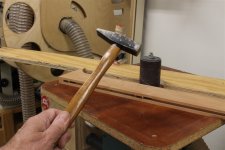
I showed this trick before. A piece of scrap clamped to the spindle sander table sets a specific distance. You make a couple of passes . . .
MBR Dresser (35).jpg
. . . then use your high-accuracy adjustment tool to set the piece of plywood back a smidge for a couple of more passes. Blend in the curves and you have one rail done.
MBR Dresser (36).jpg
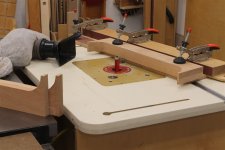
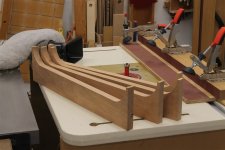
I now use this rail as a pattern to draw out the path on the other three rails. I rough them out on the bandsaw and use the same first rail as a template at the router table.
MBR Dresser (37).jpg
Now everybody matches.
MBR Dresser (38).jpg
Time for a bit of lunch.
 
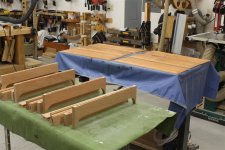
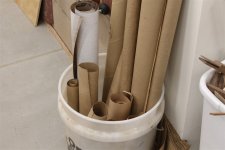
I don't want to say that I'm a cheap skate but I save a lot of the packing that comes in whatever gets delivered.
MBR Dresser (34)_renamed_8930.jpg
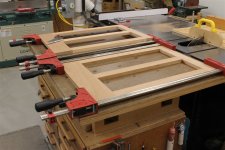
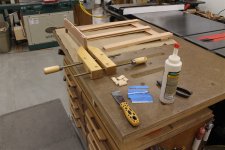
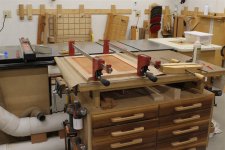
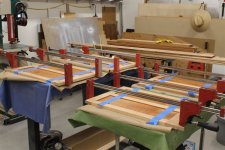
I lay it down when I want a barrier between the work and the work surface. Here's how I stage things to glue up these end panels sections. The little blue rectangles are spacers to help me center the panels. Not shown is a little plastic paddle (its in a bucket of water on the floor). I use this to massage the glue around in the mortises to assure there is glue on all the sidewalls. I also use this to spread glue on other mating surfaces.
MBR Dresser (35)_renamed_30349.jpg
I glue the parts up in a standing position in this case. Given the size and location that require glue it just worked better. I've mentioned before that I use blobs of silicone glue instead of space balls. This lets me center the panels and when the silicone sets I have custom rubber spacers. Ah . . . there's the little orange plastic paddle on the right hand corner of the work surface.
MBR Dresser (37)_renamed_16783.jpg
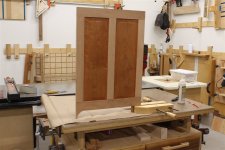
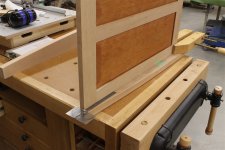
Once all the parts are assembled I lay the assembly on its back. I check for square, apply the clamps and adjust the floating panels if required.
MBR Dresser (38)_renamed_3370.jpg
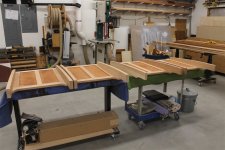
I then set these aside for a couple of hours. The blue tape assures that the panels don't move until the silicone sets up.
MBR Dresser (39)_renamed_31648.jpg
I have plenty more to do so letting these set a while is not a problem.
 
You guys are too kind . . . I had paired up these legs for the best look before. I just want to see it again and be sure things are labeled well so I don't goof.
MBR Dresser (47).jpg
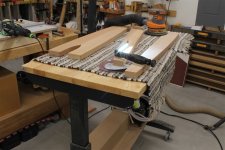
Sanding . . . lotsa sanding . . .
MBR Dresser (48).jpg
I layout the marks on the leg for the panel and check the angle. The top of the panel needs a bevel to fit correctly.
MBR Dresser (49).jpg
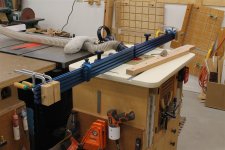
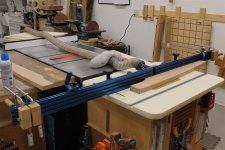
I was looking at the Blanket Chest build and wondered why I assembled the panels before cutting the arch in the lower rail. Now I remember . . . I needed a reliable bearing surface for the bevel cut. I add some extrusions to the tablesaw fence to get me out of my boo-boo. They don't need to be this long but one was too short.
MBR Dresser (50).jpg
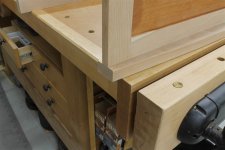
Now the junction where the top will set is flat.
MBR Dresser (51).jpg
I go through the process of these mortises in the Blanket Chest thread so I will not belabor it again here.
MBR Dresser (52).jpg
You end up here.
MBR Dresser (53).jpg
Three more to go.
 
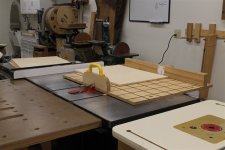
There are some plywood structural elements inside the carcass. I cut them at the tablesaw with a sled and sled support.
MBR Dresser (54).jpg
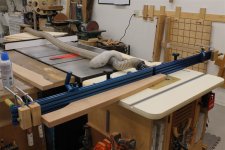
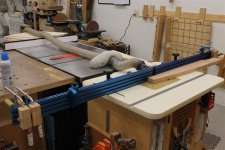
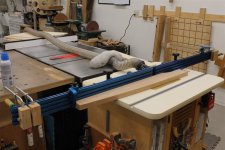
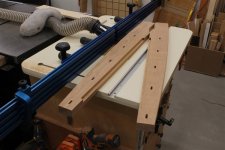
There is a stopped rabbet on each leg. Funny, I rarely use these extrusions and now I've used them twice on one project. I needed some extra reach to put the stops where I needed them sp these help out.
MBR Dresser (55).jpg
One leg profile.
MBR Dresser (56).jpg

MBR Dresser (57).jpg
Flip the flip stops and do the other leg profile.
MBR Dresser (58).jpg

MBR Dresser (59).jpg
And I end up here.
MBR Dresser (60).jpg
I square the ends.
MBR Dresser (61).jpg
The plywood panel will lay in like so. This provides support in several directions and gives me a vertical surface to mount drawer glides to.
MBR Dresser (62).jpg
 
Top