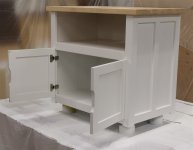
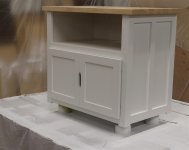
"Dorm Room" Media Cabinet

glenn bradley

Member
Messages
11,571
Location
SoCal
I am killing a bit of time while building the dressers for the new bedroom suite. The son of a family friend wants a media cabinet to hold his cable box, gaming console and so forth. The location is his bedroom so the scale is small. He called me and asked about making one out of 2x4's so I offered to intervene and do something not quite as rough out of some materials I had on hand. We have agreed on something like so.
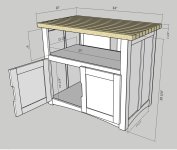
Parker (0).jpg
The top will be sealed pine. The base will be painted white to match an existing desk unit.
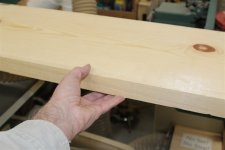
Parker (1).jpg
The pine I had on hand from a project that never sow the light of day so . . . bonus for him ;-).
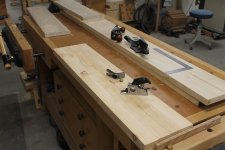
Parker (2).jpg
I milled and glued up some pine to make a top that echos the commercial desk unit he already has. I use some epoxy to lock and level some knots.
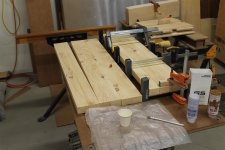
Parker (3).jpg
No dye in this epoxy as the top coat will be an amber coloration.
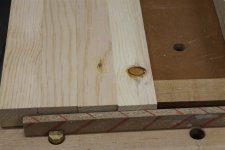
Parker (4).jpg
Not sure what I was trying to show here. We have all (or mostly all glued up panels before.
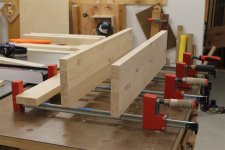
Parker (5).jpg
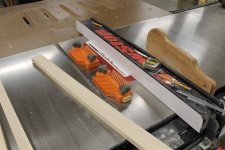
Ripping some poplar which will be the base material (mostly) under primer and paint.
Parker (6).jpg
 
Last edited:
Is the young man working with you?
Sort of. He is coming over tomorrow. I will pre-build some sub-assemblies and leave some ‘parts’ making tasks for him. He is very excited about working on the project. He went to college on a bowling scholarship so his skills lie elsewhere :).

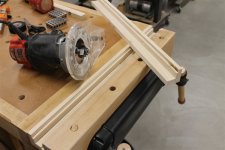
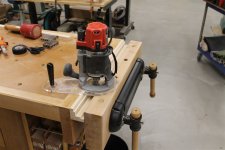
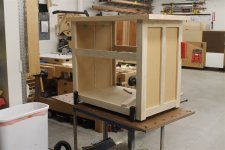
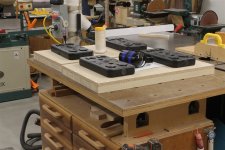
I got ahead of myself and glued up the corner posts before milling for the panels. My solution was to clamp them in the tail vise and use the workbench as a support surface for the router.
Parker (7).jpg

Parker (8).jpg

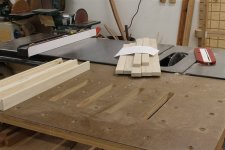
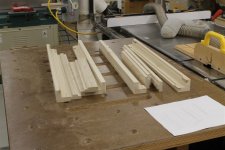
I can always remember where my broom and dustpan are after I free-hand route :D. At any rate I covered my procedural error and rabbeted the remaining parts before assembly.

Parker (9).jpg

Parker (10).jpg
 
Last edited:
"Wood balancing to prove perpendicular milling and weight consistency" A Doctoral Thesis by Glenn Bradley :D.

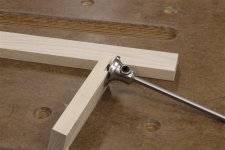
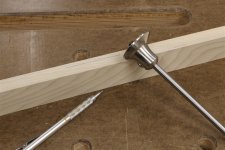
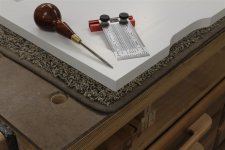
One thing about working with soft woods; your cutters gotta be sharp, sharp, sharp. After an unacceptable amount of tear out on a test cut I grabbed a marking wheel. I use the test piece to set the depth.
Parker (12).jpg
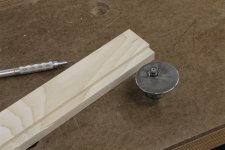
Then I run a slice along the show edge. Here I have highlighted the score with a pencil to make it easier to see.
Parker (13).jpg
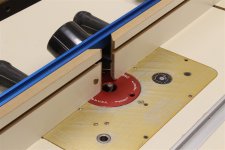
I am trying an upcut spiral instead of the shear-cut two flute straight bit I was trying before.
Parker (14).jpg
I cut a 1/32" to 1/16" deep cut first. Then I go back for full depth. I'm happy with the results but am reminding myself to stick to hard woods in the future :)
Parker (15).jpg
A quick dry fit of most of the components. Picture the base painted white and the top with an amber tinted top coat. Oh, there's doors on the bottom opening as well in case I didn't mention that.
Parker (16).jpg
And a little weight for an overnight glue up of the shelf cleats.
Parker (17).jpg
 
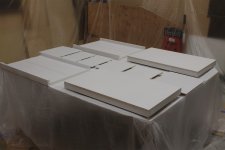
Another coat of paint.
Parker (19).jpg
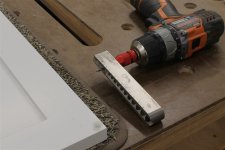
More detail than anyone probably needs but, layout and mark for bumpers.
Parker (20).jpg
Drill a hole without drilling out the front of the door.
Parker (21).jpg
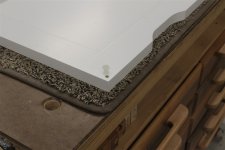
Push in the bumper. Unlike some stick-ons these stay put.
Parker (22).jpg
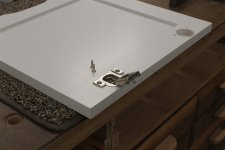
Hinges.
Parker (23).jpg
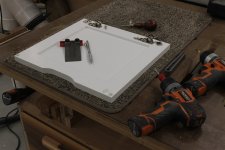
Just an overall shot of the tools used.
Parker (24).jpg
And she looks like this. The top is shellacked for color and then rattle-can lacquered.
Parker (25).jpg
The cabinet is setting on 1 quart finish cans to elevate it. Those round "feet" are not part of the build.
Parker (26).jpg
I will let the paint harden for a few days per the manufacturer's instructions and then deliver it.
 
He feels like I am giving him too much and wants to pay for it. I have tried to explain that I do this for fun. Also, I have never done a painted base piece before. Trust me, on close inspection it's not all that :D
I've done a couple of painted pieces and have sworn them off for the future. It's in my "I don't do that so you'll have to go somewhere else" category - right next to staining cherry or pine.
 
Top