glenn bradley
Member
- Messages
- 11,568
- Location
- SoCal
This is a rambling tale so feel free to skip ahead. I got lazy and left the HVAC weep drain termination point (small outdoor French drain) stay on the "To-Do" list too long. Result? Weeds grew around the end of the pipe, dirt collected around the weeds courtesy of the wind and the end of the pipe got buried. The drain tube filled up and the inside unit dripped inside . . . right on the bevel sled that was hanging from the cleat peg rack. I knew I shouldn't have run cleats under the unit but I wanted the space  . Fixed/finished the drain but the sled was trashed.
I needed a bevel sled the other day and I am still waiting for finish to cure on a current project. Our bout of weird weather really altered my usual finishing protocol timeline.
I told you it would be a rambling tale . . .
Be that as it may; I dug an old small scale sled of dad's out of one of the outbuildings to see if I could recover it. With the current cost of BB ply I am more prone to up-cycle discarded items lately.
The sled was scaled for dad's old Zip Code saw so the runners and deck would need some love. Once I pulled the front and rear fences I was left with two panels that were just a smidge shy of what I wanted. I added some strips of ply and then glued everything up just like any other panel glue up.
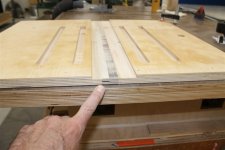
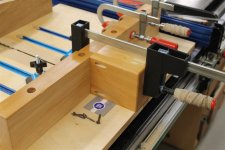
I epoxied strips of scrap into the kerfs in the dummy-block . . .
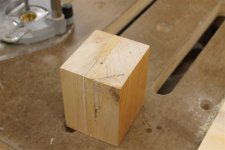
. . . and the front fence.
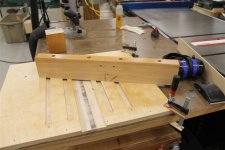
Dad's version did not have replaceable inserts. There was some discussion in another thread about making jigs do multiple jobs. Replaceable ZCI's in sleds lets this happen. I don't have room to store half a dozen one-trick-ponies. I use a router and a dado jig to cut the 3" wide recess for the ZCI.
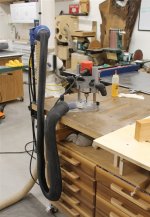
I then temporarily place the fence and layout the dado for the fence.
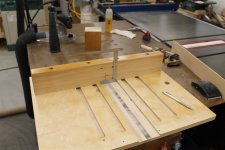
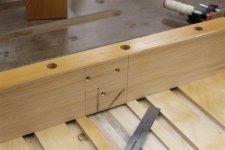
I have to cut a 90 degree position to allow me to use the 5-cut method to align the fence. I do this without the inserts in place.
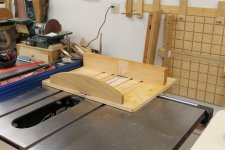
I found that the fence would not adjust enough to get me well aligned. I turned the 3/8" holes into 3/8" slots at the drill press. I use the original hole to line up the bit position and place the fence and a stop.
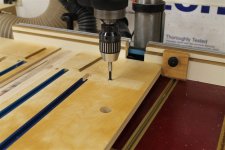
The I slip a couple of 3/16" setup bars between the sled base and the fence to reposition the material.
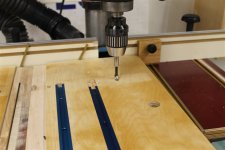
The result is a slightly overlapping set of holes. BTW, dad had t-track on his sled so I kept that.
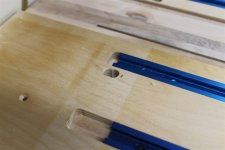
I chisel the holes into a slot. Now I have plenty of room to get things well aligned. Once I am happy with the fence position I install the inserts and make a 45 degree cut. 45 degree bevels will be the bulk of this sleds job. Other inserts can be swapped in and out for other angles.
I rip a piece of scrap ply to test the alignment at 45 degrees. I put on a couple of flip stops at random lengths, clamp down the scrap and cut my first bevel.
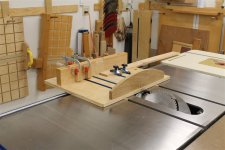
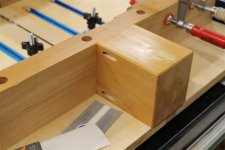
I cut a couple of short pieces . . .
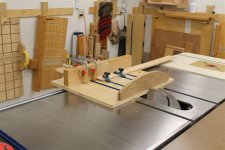
. . . and a couple of long ones.
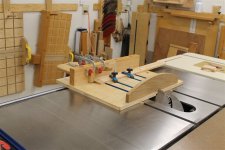
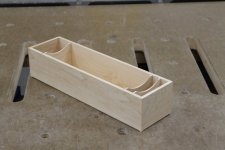
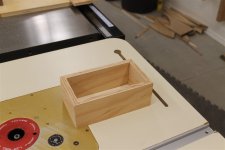
Like so.
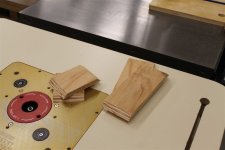
OK, the miters are tight and consistent along all edges . .. success!
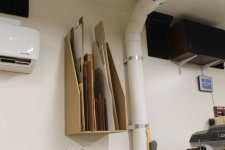
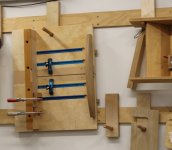
When it is not in use it hangs from one of the new batch of cleat pegs (on a wall that does not have an indoor unit on it ).
).
I needed a bevel sled the other day and I am still waiting for finish to cure on a current project. Our bout of weird weather really altered my usual finishing protocol timeline.
I told you it would be a rambling tale . . .
Be that as it may; I dug an old small scale sled of dad's out of one of the outbuildings to see if I could recover it. With the current cost of BB ply I am more prone to up-cycle discarded items lately.
The sled was scaled for dad's old Zip Code saw so the runners and deck would need some love. Once I pulled the front and rear fences I was left with two panels that were just a smidge shy of what I wanted. I added some strips of ply and then glued everything up just like any other panel glue up.

I epoxied strips of scrap into the kerfs in the dummy-block . . .

. . . and the front fence.

Dad's version did not have replaceable inserts. There was some discussion in another thread about making jigs do multiple jobs. Replaceable ZCI's in sleds lets this happen. I don't have room to store half a dozen one-trick-ponies. I use a router and a dado jig to cut the 3" wide recess for the ZCI.

I then temporarily place the fence and layout the dado for the fence.


I have to cut a 90 degree position to allow me to use the 5-cut method to align the fence. I do this without the inserts in place.

I found that the fence would not adjust enough to get me well aligned. I turned the 3/8" holes into 3/8" slots at the drill press. I use the original hole to line up the bit position and place the fence and a stop.

The I slip a couple of 3/16" setup bars between the sled base and the fence to reposition the material.

The result is a slightly overlapping set of holes. BTW, dad had t-track on his sled so I kept that.

I chisel the holes into a slot. Now I have plenty of room to get things well aligned. Once I am happy with the fence position I install the inserts and make a 45 degree cut. 45 degree bevels will be the bulk of this sleds job. Other inserts can be swapped in and out for other angles.
I rip a piece of scrap ply to test the alignment at 45 degrees. I put on a couple of flip stops at random lengths, clamp down the scrap and cut my first bevel.

I cut a couple of short pieces . . .

. . . and a couple of long ones.

Like so.

OK, the miters are tight and consistent along all edges . .. success!

When it is not in use it hangs from one of the new batch of cleat pegs (on a wall that does not have an indoor unit on it
 ).
).

